Though they look relatively easy and straightfoward, I find the wings to be the trickiest part of the plane to design. What makes wing design hard for me is coming up with a good and smooth teardrop shape of the wing's chord.
In the past, I used to make wings using this method:
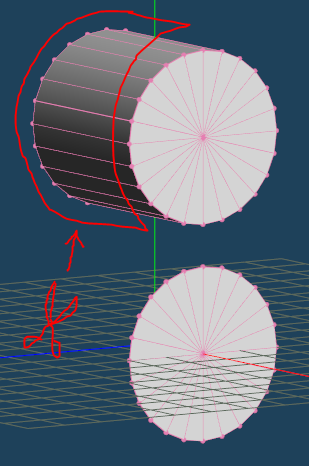
I start by creating a cylinder primitive with enough lateral segments to provide a smooth shape.
Then, using the scaling tool, squash the cylinder. This will produce what appears to be a wing. Close enough.
The next steps would be to reshape the cross section of the cylinder to produce the much sought after tear drop shape.
I start by getting rid of some segments at the rear of the wing. This is done by "joining" their vertices to the right most vertex. Arghh..hard to describe. Just look at the picture above. :)
Continue shaping the cross section (or chord) by moving the last segment pictured above a bit to the right. Then, using the scaling tool, scale down along the Y-AXIS to make the chord taper down smoothly.
Finally, move down the segments pictured above to refine the chord into the desired shape.
Simple eh?
Unfortunately, this technique relies a lot on a good eye to ensure that the chord tapers "naturally". Often times, you'll end up with something like this:
If you don't do a good job at aligning the segments of the cross section, you'll end up with a wing chord that looks like the picture above. Not really nice.... However, I'm not saying that the technique described above is flawed. I'm just saying that it's easy to make mistakes.
In my Heinkel P.1078B, I explored using Catmull-Clark patches for creating a smooth chord. It did its job well, but unfortunately, I had limited control on the number of wing segments. As a result, the leading edge of my Heinkel's wing is not very smooth.
Enter the Magnet tool!
Start with a cylinder primitive. This time, use more segments. This will help produce a smoother chord.
Now, delete the rear end of the cylinder as pictured above. Actually, what I want to do is to create a disc. Unfortunately, I don't know how to do this in Metasequoia. So the technique above is what I know...
Scale down the disc along the Y-AXIS a little bit. Don't over flatten. You just want to produce a mild oval shape.
Now, click on the "Magnet" button to bring up Magnet Toolbox. You'll want to set the magnet mode to the button pointed out by arrow #1 in the image above. Next, click on the right most point depicted by arrow #2.
Pull to the right! Notice how the segments are evenly distributed. What's more important is, the taper is smooth and consistent!
Almost there! Now use the scaling tool to flatten the shape along the Y-AXIS.
Now use the BEND tool to pull down the right most edge. Don't over do this.
Finally, use the EXTRUDE tool to create your wing!
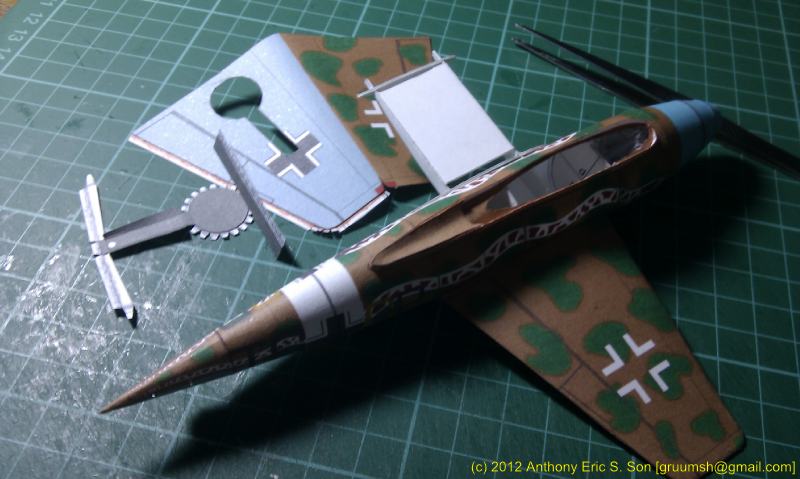
Notice how much better this wing looks like compared to the one made using the cylinder+scale method?