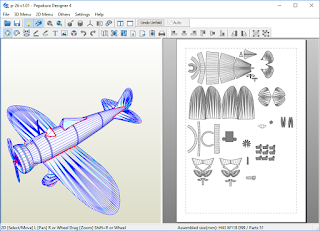
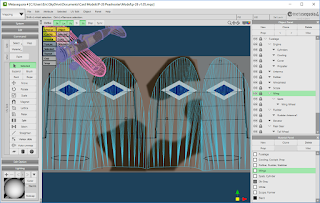
Unwrapping in Pepakura
When the model was initially loaded in Pepakura, I was greeted with the dreaded warning message telling me that 100+ nodes were deleted, 100+ faces were merged, etc. etc. etc.
I went back to Metaseq to fix the problem (OBJECT -> Merge Close Vertices) until Pepakura stopped complaining.
Afterwards, I proceeded with unwrapping and set my scale to 1:72.
UV-Mapping
From Pepakura, I exported my UV Info (File -> Export -> Texture Editing -> 3d Model with UV Info). I'll get back to this later.
I also saved my Pepakura file as a PDF.
I then opened the PDF in Inkscape. From Inkscape, I generated a bitmap file (PNG). I set the size of the export to be 8000px wide.
Now for the actual UV-Mapping!
From METASEQ, I opened the OBJ file that I recently exported from Pepakura. I then created a new Map object, and set the image to the PNG file that I exported from Inkscape. I then assigned the map onto the model.
From there, I went to Metaseq's MAPPING mode. Pepakura has done a good job in exporting the UV info. The scale/position is a bit off. A small bit of scaling an translations solved this.
Skinning / Texturing
Once I got the UV-mappings in place, I went back to Inkscape to draw the actual seam lines, camo, liveries, etc. Switching back and forth between inkscape and metaseq allowed to check if the textures are aligned correctly.
Once all the textures are completed, I got this:
I then went back to Pepakura and refreshed my original unwrap with the updated textures:
And yeah, I added some last minute fuselage and wing formers...
Now the model is ready to build.
My next update will show the build process.


No comments:
Post a Comment