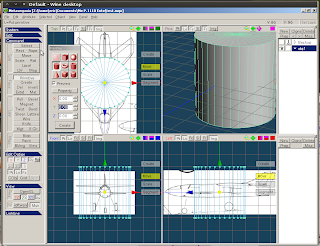
For this, I chose 32 slices. I don't know if that's enough....but I guess I'll find out later on.
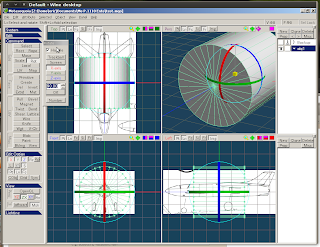
Next, I aligned the cylinder to the fuselage of the background (3-view) images. In this case, it was a simple matter of rotating the cylinder 90 degrees along its x-axis.
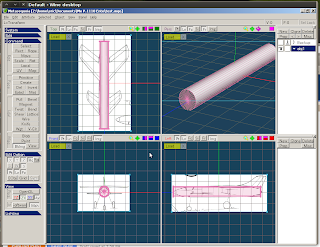
Once aligned, I proceeded to re-shape the cylinder to closely match the fuselage of the Ente. If you look that the front view, you'll notice that the cross section of the cylinder is not a perfect circle. It is slightly oval shaped.
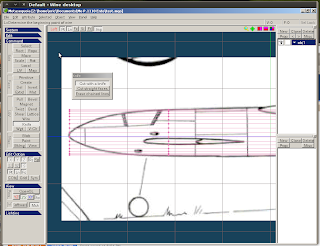
Now it's time to work shaping the front part of the fuselage. Starting from just behind the canopy, the fuselage gradually starts tapering down. To do this with the cylinder, I use a knife tool to add a new cross section at the point where the fuselage starts to taper down. In this case, as I mentioned, it's just behind the canopy.
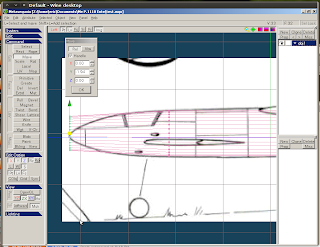
Using the scaling tool, I scaled down the front end of the cylinder by a bit --- just enough to match the gradual taper of the cylinder.
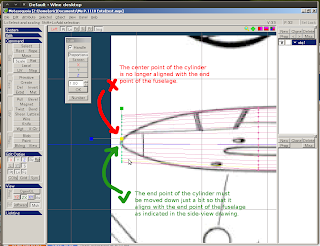
Now, notice that the front end of the cylinder is somehow no longer aligned with the front end of the fuselage's side-view drawing.
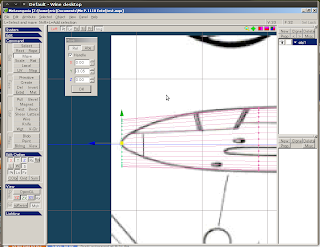
To fix this, I moved the front end of the cylinder down by just a bit so that the center point aligns with that of the fuselage's.
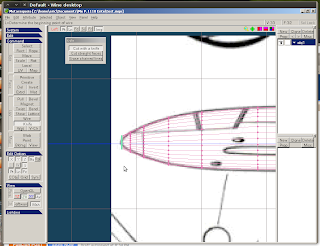
Repeat the knife+scale+move process until satisfied....
Now, notice that the front end of the cylinder has significantly shrunk in size. But it's still flat.
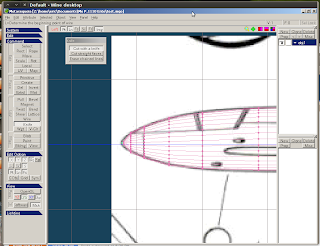
To fix this, I used the "join vertices" function.
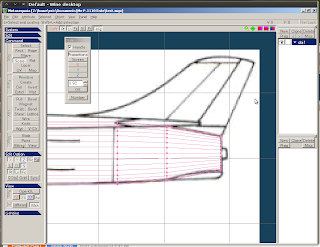
I then applied the same steps for the rear end of the cylinder.
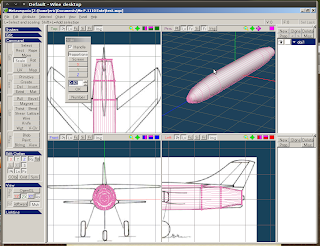
Fuselage done!
My next step would be to work on the canard wings of the Ente.
No comments:
Post a Comment