Saturday, September 27, 2014

Heinkel P.1080 - Part 10

Finishing the Engines

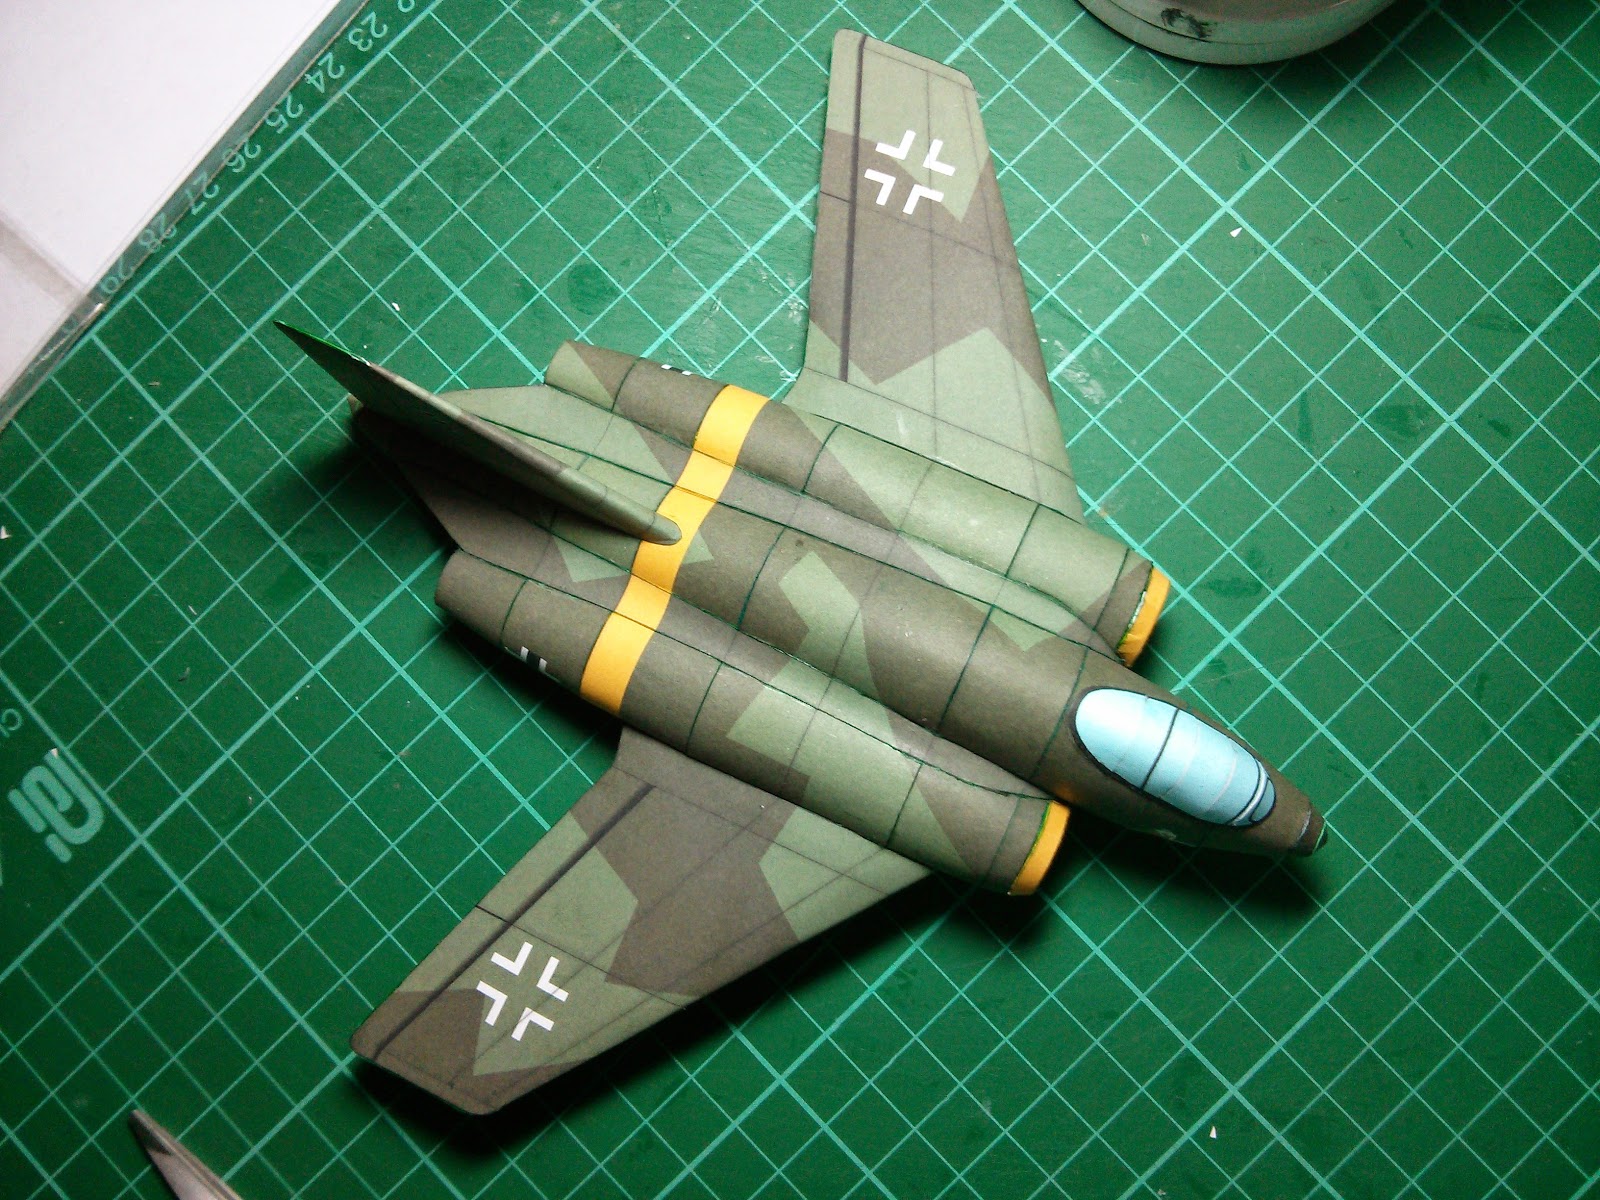
It turned out that the engines were the most challenging parts of the model to assemble.  

 Almost done...

Finally, with the last engine completed and attached to the fuselage, the remaining parts -- canopy, wings, rudder and landing skid should be easy.

Finishing Touches

Canopy done!

Wings -- notice the minimal use of formers on the wings.  Actually, for the whole model, only the central fuselage and the wings have formers.


All Done!

III.JG-11 receives the first delivery of the Heinkel P.1080 from Eric Flugzeugwerke!
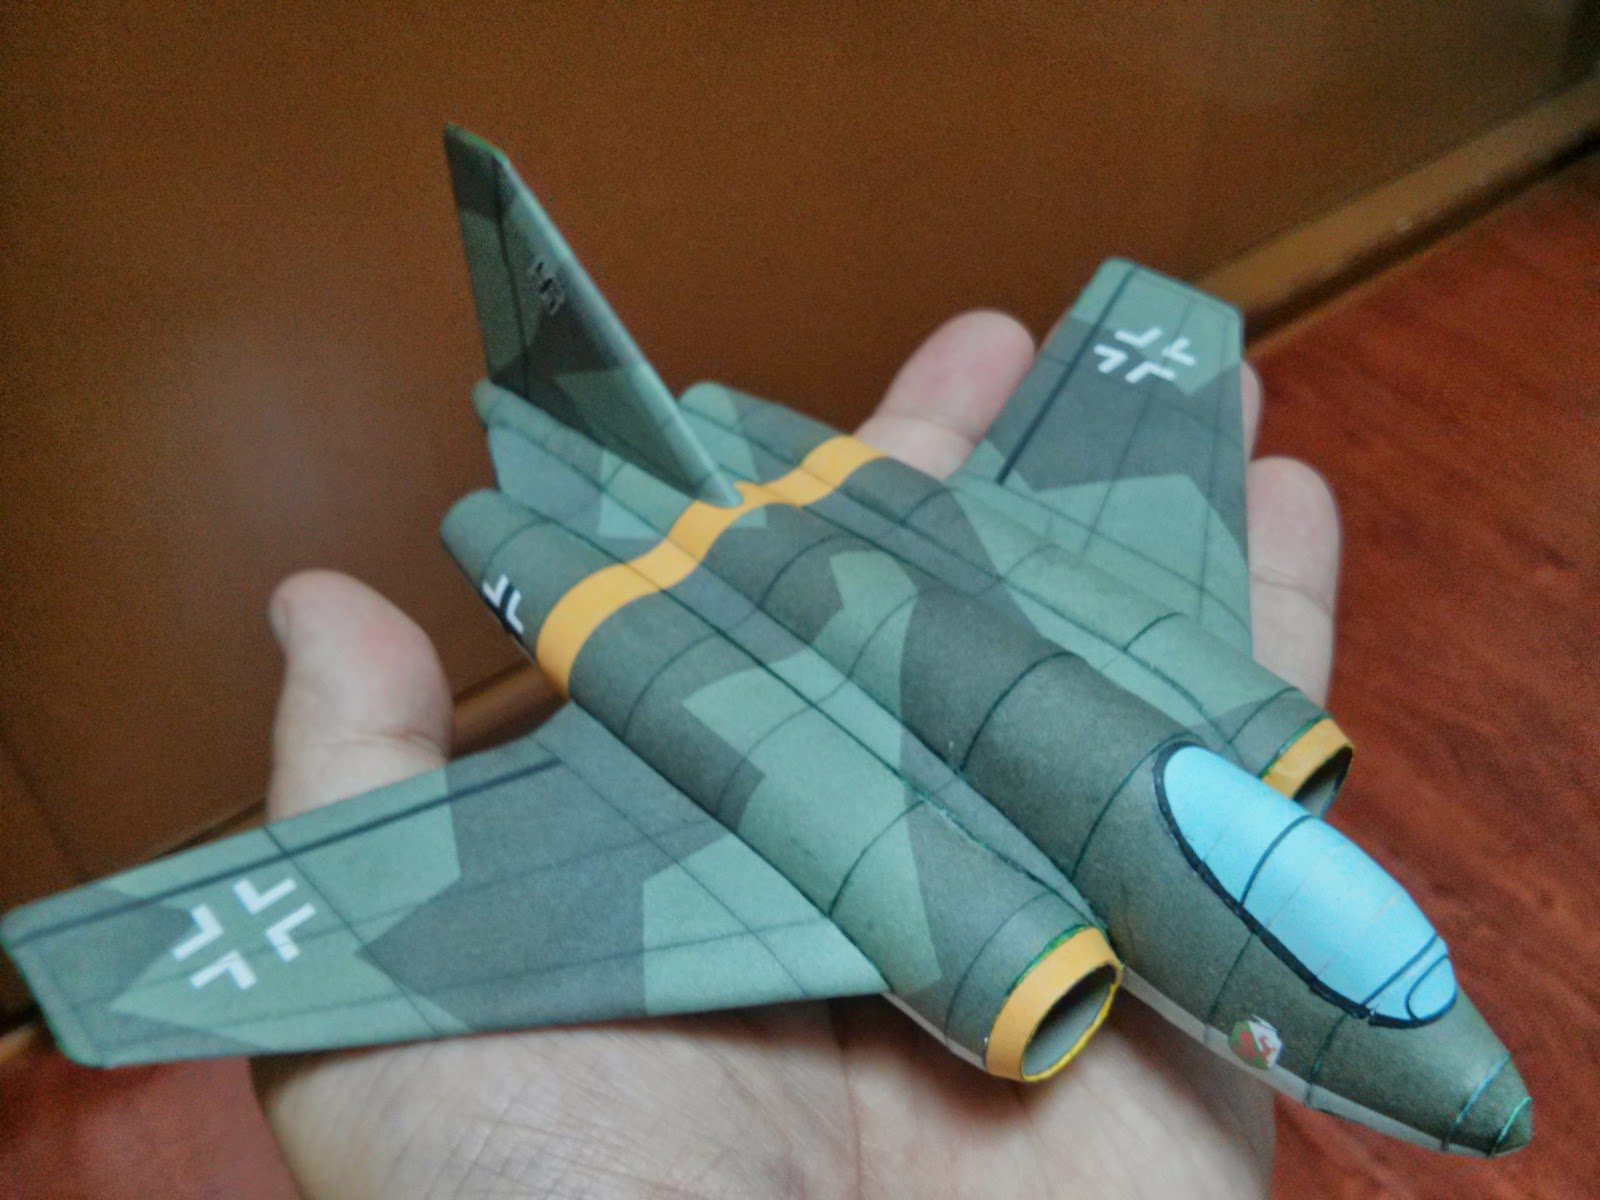


Actually, I'm not yet done

I still need to work on the trolley that the P.1080 uses for taxiing and takeoff.


Sunday, September 21, 2014

Heinkel P.1080 - Part 09

Working on the Ramjet Engines


With the fuselage completed, it was time to work on the engines.

I started by assembling the inner part of the engine.  After which, I worked on the outer part.

The idea was to slide the inner tube inside the outer part of the engine.

Finally, the engine attached to the fuselage.
One more engine to go!

Unfortunately, this was the farthest I could go for the weekend.  :(

Friday, September 19, 2014

Heinkel P.1080 - Part 08

Build Started!

Lots of small fiddly pieces...but persistence paid off.
I started with assembling 2/3 of the fuselage from the tail end, and then 1/3 from the front end.

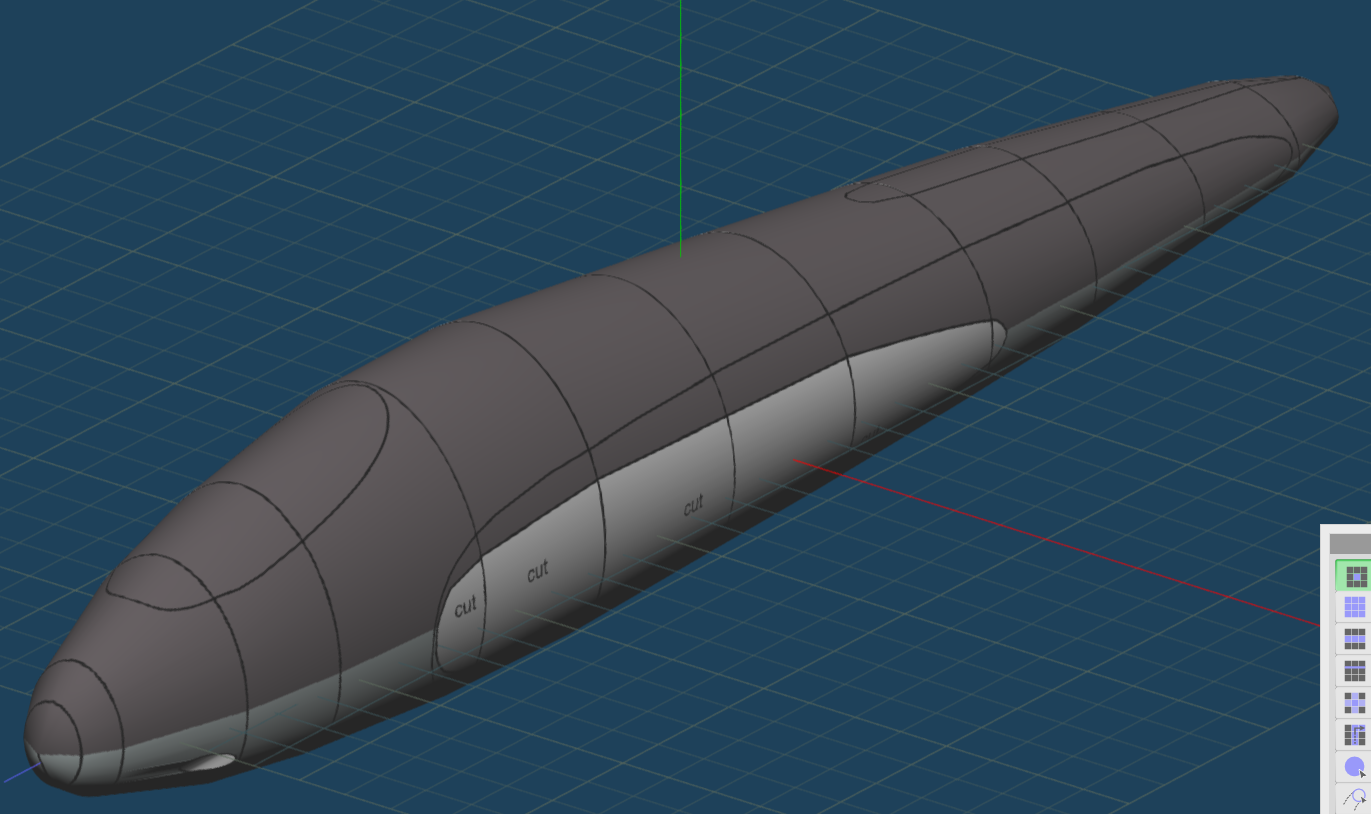
Then, before joining the two parts of the fuselage, I cut out the area that would later intersect with the engines.

Finally, the fuselage is done!

Save for some small fiddly pieces like the gun tubes, it was a relatively straightforward assembly.

Next up, the engine fairings, and hopefully, the engines.

Saturday, September 13, 2014

Heinkel P.1080 - Part 07

Working on the Camo


For this model, I used a plane-jane splinter camo pattern.


Originally, I wanted to do that famous squiggly pattern that the Luftwaffe aircraft was known for.  But I was not sure if it would look good.  So I made a small test pattern on the wings.
It was "nice".  But it kinda overpowered the details of the plane, such as the liveries and the seams+joints. 
I'll do without the squiggly lines for now.  Maybe I'll try again on a different design.

Camo Completed!


I decided to use the markings from III./JG11.


Bottom shot looks really clean.  I'll see if I can add some weathering to this.  

Frontal shot looks badass!


With the camo pattern done, the next step would be to start the test build!
As always, I'll be working in 1:48 scale.

Sunday, September 7, 2014

Heinkel P.1080 - Part 06

Still so much work to do...

Unfortunately, I botched up the UV-Mapping job that I did last week.
I used Pepakura to export the UV mapping info, which I then imported back to Metaseq.  I didn't realize that the UV mapping info that Pepakura exported had the X-axis inverted!  I only realized this when I started working on making the lines or seams that represent the joints on the aircraft.

I had to redo the whole UV-mapping.  


Glue Guides


I also spent a lot of time drawing and positioning the place markers for the engines, fairings, rudder and canopy.

Skinning Progress


Finally, with the tedious guide lines done, I can work with the actual skinning.


Sunday, August 31, 2014

Heinkel P.1080 - Part 05

UV Mapping Started!

And so begins one of the most tedious tasks in this model's creation -- UV Mapping.  

UV Mapping involves placing or "mapping" each vertex and edge against an image.   This tells the 3d renderer how to "draw" or "wrap" that image onto the model.  


Since I used an impractical amount of vertices and faces, it took a while to complete the UV Mapping.

Skinning


Most of my free time was consumed by the UV Map creation.  Little time was left for the actual skinning.  However, I was able to finish the cockpit canopy. 

:)

Friday, August 29, 2014

Heinkel P.1080 - Part 04

Unwrapping

After cleaning up the model, it was time to unwrap the wire frame.  
I started the unwrapping operation using Ultimate Papercraft 3D.  At first, everything went smoothly.  Despite the clunky user interface, I was able to perform edge cutting and parts layout quickly.  But then, disaster struck.  As I was in the middle of unwrapping the engine, I got an "OUT OF MEMORY" error message dialog box.  Huh?  I checked my HDD light to see if it were thrashing/paging.  Nope.  Everything was okay.  So I saved my work and restarted UPC3D.  It ran fine again.  Maybe just a glitch.  5 minutes later, the "OUT OF MEMORY" error came up again!  WTF?

I quit and started googling.  It was then that I saw a forum thread that complained about the same thing.  And the thread also stated that the UPC3D devs declared this to be a limitation of UPC3D to support low poly models only.  Hell! What's the use of having limitless texture sizes if I have to work with low-frikkin-poly-models!?

Disappointing!  "OUT OF MEMORY" issues on a standalone application are UNFORGIVABLE!  SLOPPY PROGRAMMING!

Anyway, long story short, I went back to PEPAKURA.

I'll just have to find another way to deal with the texture size limit.


Unwrap completed!  I'll be working in 1:48 scale, by the way.

Next step, UV-MAPPING!