Introduction
It's been a while since my last update. It's been very difficult to get enough free time to engage in my new design.
Anyway, with the little free time I had, I was eventually able to make progress.
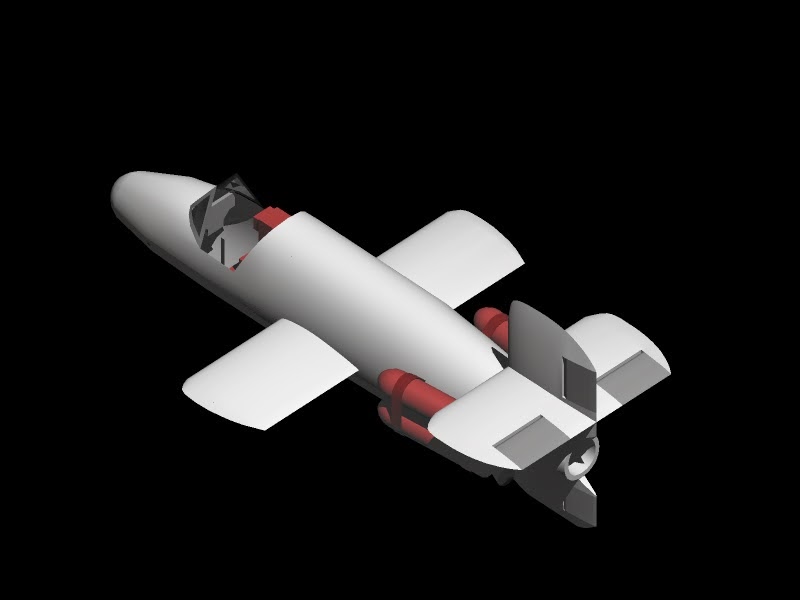
Here's where I'm at right now:
You can see it's almost done. :)
But I will still create and share my work log, starting with this new entry.
What is the Bachem Ba-349 'Natter' anyway?
Unlike my previous work, this one is technically not a Luft'46 plane. This one was actually built, tested (unmanned), and flown (manned). Unfortunately, the first manned flight also resulted in the death of its pilot, Lothar Sieber.
The plane never went operational.
The Natter was designed to be a manned missile. It would have been launched vertically from a launch platform with the help of four solid fuel rocket packs and its main engine - a Walter HWK 109 rocket. This is the same engine that powers the ME163 'Komet'.
Initial launch was handled by a crude guidance system that was meant to bring the Natter in the flight path of the approaching Allied bombers. Once there, the pilot takes manual control and directs the Natter to the bombers.
When within range, the pilot fires the Natter's payload -- an array of 24 Henschel Hs297 Fohn rockets -- stored in the nose section.
Anyway, enough of that. This is a design blog and not a history blog.
You'll find more about the Natter just by googling.
Creating the framework
In the past, I've always relied using the 4 window panel system of Metaseq: top, front, side, free.
I'd take an image from the 3-view diagram and use it as the background image for the top, side, and front panels.
But though it gets the job done, it gets a bit difficult to get the exact shape of the model.
This time around, I took the 3-view, and then I created a new flat shape by tracing the outline of the plane like so:
I then 'traced' the other parts - the wings, rudders, tail fins, and fuselage side views.
Once done, I rearranged the parts to create a crude skeleton of the Natter:
Skinning the framework
With the framework completed, I proceeded to "skin" the skeleton by creating a subd surface, using the "skeleton" as the guide.
I started skinning the fuselage:
And after that, I worked on the wings and rudders:
Okay, based on the image above, you'll notice the canopy is wrong. :)
I tried as hard as I can but I just can't seem to get the boxy canopy correct using subd surfaces.
So instead, I did the canopy manually after converting the subd surface into an actual wireframe:
I'll have to stop at this point for now.


No comments:
Post a Comment