Saturday, February 25, 2012

Messerschmitt P.1106 R - Part 14

Texturing DONE!!! 

I couldn't salvage the weird misaligned UV-mapping of the wings, so I opted to re-do it.

Here's how it turned out:


And here's a side-view shot.


Next stop --- test build!


Monday, February 20, 2012

Messerschmitt P.1106 R - Part 13

OKAY, now I'm a little pissed off at Metaseq.  I'm not sure if it's a bug or just plain user error.
So here it goes.

If you recall in my last post, I didn't want to use Metaseq's auto-layout for UV mapping plainly because it sometimes distorts the alignment of my roundels (Balkenkreuz).
So what I did was to use use Pepakura to unfold my model.
Then, after a bit of layout arrangements, I export Pepakura to a raster image.  I then use the raster image in Metaseq's UV editor by aligning the UV map to match the pattern in Pepakura.

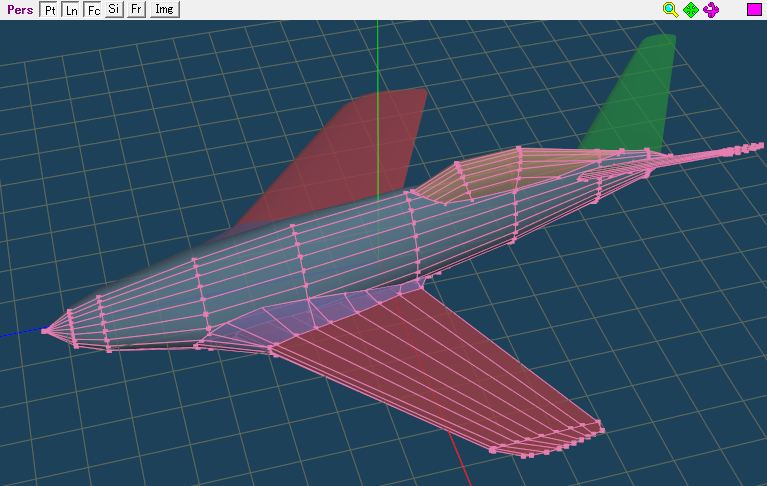
So far, it worked perfectly!    Here's a sample image of the fuselage:


Notice how the Balkenkreuz as well as the camo pattern on the UV map perfectly matches the one on the 3d model.

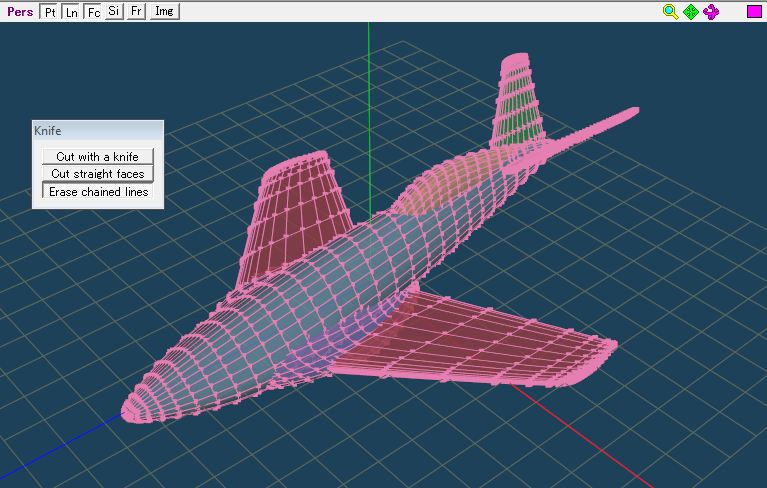
But lo and behold the results on the WING!

Holy wavy lines, Batman!  What happened here?
Not only are the patterns misaligned, they're DISPROPORTIONATELY misaligned!
Notice the Balkenkreuz... small misalignment there.  But look at the edges of the camo pattern and how they're wayyyyy out of alignment compared to the Balkenkreuz!  Worse, tweaking the UV map coordinates may fix part of the camo, but it most likely mess up other parts.

I'll dump the texture for the wing and start over, maybe using the default auto-layout of the UV map. (Blech.)  If it still does not work well, I'll have to post edit the Pepakura output by printing to PDF and editing the PDF via Inkscape.

In any case, here's how the camo job is going so far:


Now back to the drawing board... :(

Saturday, February 18, 2012

Messerschmitt P.1106 R - Part 12

I just finished performing the UV-mapping for all the components of the model.

In my previous models, I just let Metaseq automatically layout the UV maps for me.
But for some reason, Metaseq decided to punish me for the P.1106R's fuselage.

Normally, when I hit the "ATLAS" button on the UV-Mapping tool window, Metaseq would produce a nice layout without any overlapping surfaces.  But for this one...well.

So, I had to do a lot of re-layouting to get the parts right and to maximize the limited bitmap space that I have.

What I did was to save my Pepakura unfold as an image, then use that as a "guide" for lining up the UV Maps.

Although it took much more tedious and repetetive work, I think it came out better. 

Also, since the UV-Maps are in correct proportion with the actual unfolded surfaces, I think I'll get a nice bonus of having perfectly proportioned roundels.  I won't have to purposely deform my roundels to make them appear correctly in the UV Map.  The image above is the UV-Mapped texture I used for the BV212.  Notice how I had to deform the roundels.   I did this because I used the default UV-unwrap that was produced by Metaseq's ATLAS function.

Anyway, here's a picture of the progress so far:
RLM83 is not the final color I plan to use.  I just did a hasty paint job to see what it looks like. 
Time to do a little research.  I'll probably base the camo job on the Natter or Komet.
More later...

Sunday, February 12, 2012

Messerschmitt P.1106 R - Part 11


Here's a snapshot of the unfolded design.

The number of parts roughly remain the same with the older design.  However, the complexity of each part have been significantly reduced!

I can't do a test build yet.  I still need to do the fuselage and wing formers. 

Saturday, February 11, 2012

Messerschmitt P.1106 R - Part 10

Landing gears and wheel wells done!


In my previous models, I worked hard to make sure that the landing gears fit well inside the wheel wells when they were in "raised" position.  But for this one, I had to make some painful compromises. :(


Front view looks very menacing!
I'm thinking of whether or not I should cut out real gun holes on the wing roots or just making do with painting the gun hole via texturing...

Sunday, February 5, 2012

Messerschmitt P.1106 R - Part 9 (REBOOT!)

I'm back!!!!  And I've not yet given up on the P.1106R.
Taking into account the painful lessons learned on the P.1106R's original design, I decided to throw everything away and start from scratch.


One of the most annoying things about the last design was that the cross section of the fuselage, especially at the wing root area had a complex compound curve.    This made it really hard to wrap the fuselage skin around the fuselage formers.  The reason why I was forced to make that weird cross section was that I had to make space for the wheel wells.

Anyway, in this reboot, I'm totally aiming to keep the fuselage cross sections as simple as possible.  As I move along, I'll try to find a different way to solve that issue with the wheel well.

Also, I'm going to experiment with using more b-spline patches shaping the plane.

And here it goes!


It took a bit of experimentation, but I must admit that b-spline (or catmull) patches are the way to go when you want to produce natural curvy surfaces like those on the P.1106R.  Once I was happy with the shape, I let Metaseq "freeze" the patch to create a wire frame model that I can simplify and refine further.


Freezing a b-spline patch will produce the complex surfaces shown in the picture above.  Although it's nice to look at, it's overkill for Pepakura (unless of course you're going to do a 1:1 scale model).  But for a 1:48 scale model, I'll have to get rid of a lot of those segments.  For this, I use the Knife->Erase chained lines.  I'll also delete half of the model to take advantage of the mirroring function of metaseq.


After deleting excess segments, and performing the necessary boolean operations, I wound up with the picture above.  So far so good!

My next task would be to carve out those wheel wells and make the landing gear.