Now to add some final touches to the main model.
Notice anything different?
First, I added some missing pieces on the front landing gear.
Then, I decided to add gun ports.
Also added some finishing touches to the rear landing gears.
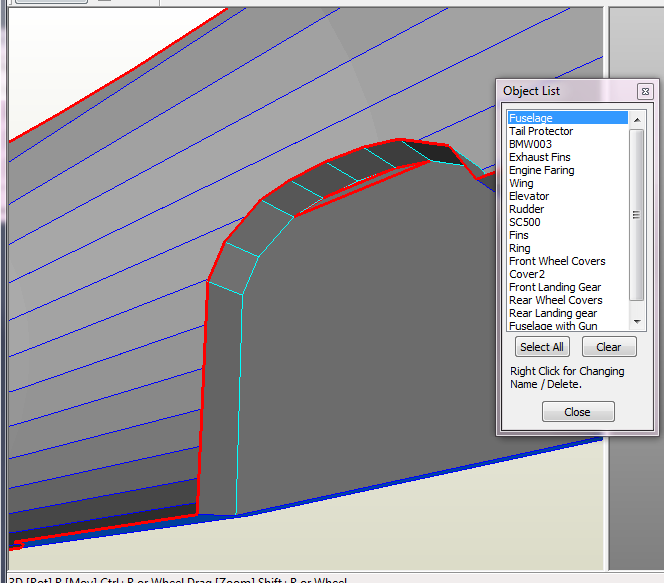
Finally, I added that thing in the tail. I don't know what it's called, but it's meant to protect the tail of the fuselage from being damaged during takeoff.
Now, before I start freezing of the mirrored objects, I'd better make sure I won't have any problems with Pepakura. Time to load the model into Pepakura!
And as expected...problems...lots of them.
X deleted vertices means that Pepakura encountered vertices that meet one or more of the following criteria:
- too close to each other
- not part of a face
Y deleted faces on the other hand means that a face meets one or more of the following criteria:
- overlaps another face (e.g. two faces share two or more edges)
- the face has surface area that is too small (just a hunch...)
Z deleted objects means that Pepakura encountered an object that has no faces defined under it.
Now this is annoying. Pepakura won't tell you WHAT FRIKKIN vertices and faces and objects were deleted! Instead, Pepakura will give you hours of fun trying to find out what caused those problem.
The easiest problem to solve is the deleted objects. Just make sure that you've got no "empty" objects in your model. And yes, even if an object has a child object, but no faces defined in it, it's still considered an "empty" object.
Deleted vertices and faces are a different matter.
Metaseq
can automatically fix some of those problems via the
Object > Join closed vertices and the
Object > Align Faces followed with the
Object > Delete overlapped faces. Unfortunately, Metaseq can only do so much. I'll still need to manually search for those remaining problem faces and vertices.
After Pepakura loads the model, I can also find problem areas by manually inspecting each object and looking for open edges where there shouldn't by any open edges.
First the wing. There's a red open edge on the wheel well. That open edge shouldn't be there.
Need to fix that.. :(
Here's another one! Two open edges on the front landing gear wheel wells!
Here's another one... the bomb fins.
Oh well... cleaning this up will be a lot of work.